0
Browsing Category

Tutorial

In Tutorial/ Valentine's Day

Valentine’s Day Lunch

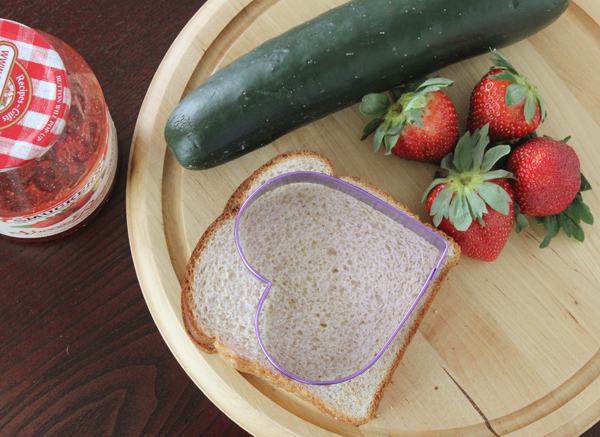
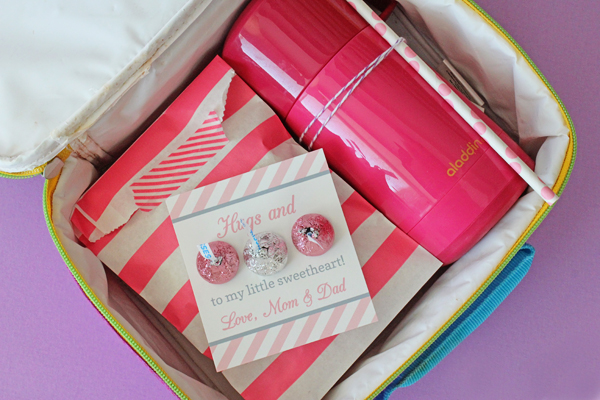
This is the first time my little sweetheart will be away for Valentine’s Day so I want to make sure her day is extra special.  I’m planning a heart shaped lunch with all her favorites – jelly sandwich, strawberries, cucumbers and chocolate milk.

Valentine's Day Lunch Ideas

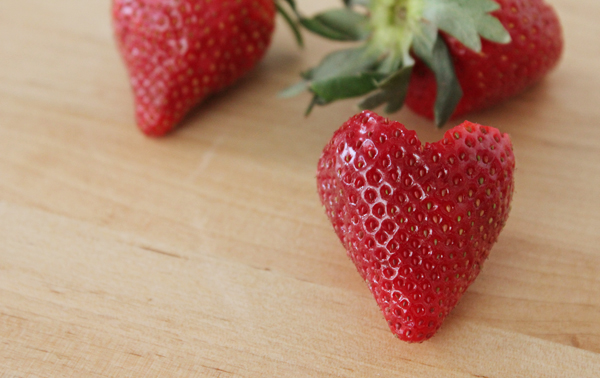
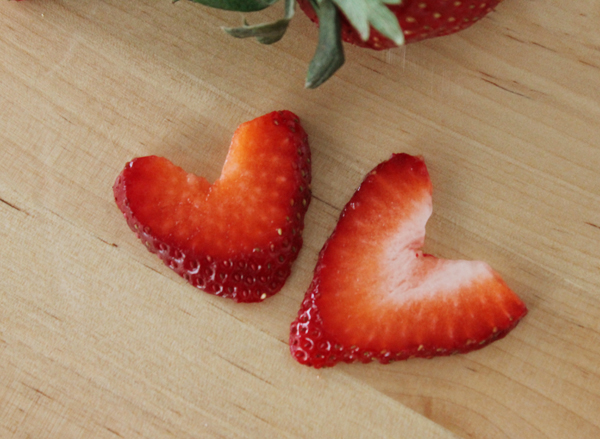
To create these cute heart shaped strawberries simply cut the tops off and cut a small v-shape in the center.

Valentine's Day Heart Shaped Strawberries

Valentine's Day Heart Shaped Strawberries

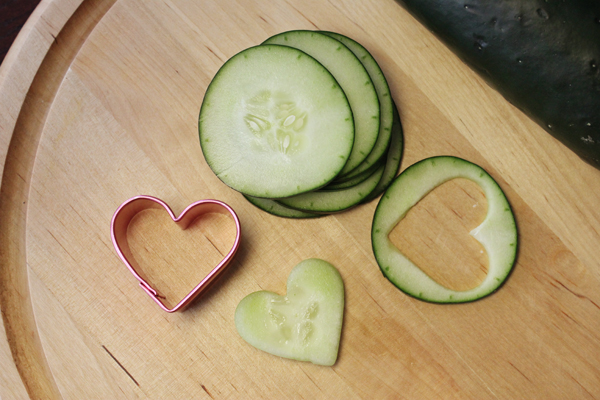
Valentine's Day Heart Shaped Cucumber

Heart Shaped Cucumbers created using a mini cookie cutter

Valentines' Day Lunch Ideas

Valentines' Day Lunch Ideas

Happy Valentine’s! Cathy C


In Christmas Parties/ Free Printables/ Tutorial

North Pole Survival Kit :: Hot Coco in a Can

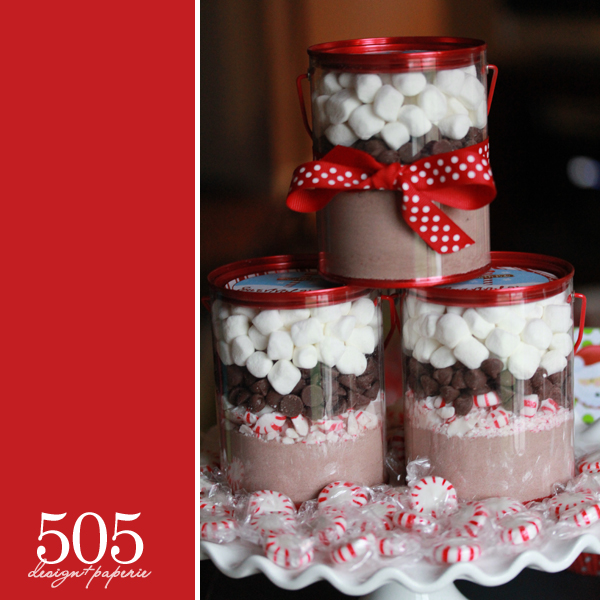
Last years Holly Jolly Christmas Collection was a big hit especially the sweet North Pole Survival Kits {aka Hot Coco in a Can}.
Hot Coco - North Pole Survival Kit
I have had several requests for a tutorial and have finally distracted my children enough found some time to take pictures and write down the recipe.  The red paint canisters were purchased last year (2011) around Christmas time. I had one heck of a time finding them again until a few days ago I spotted those suckers down the dollar aisle at Target and stocked up! It’s a super simple recipe and they make great teacher gifts.

Hot Coco Recipe

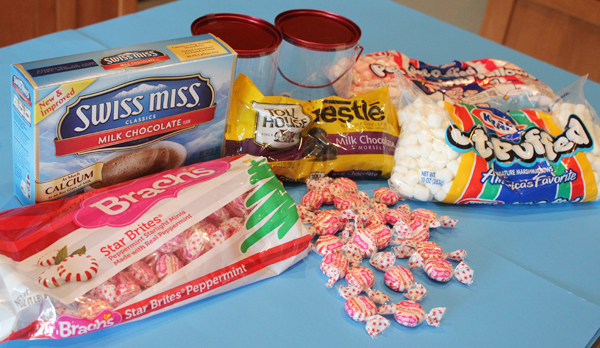
Here is what you will need:

Hot Chocolate Mix
Milk Chocolate Chips
Peppermint Candies
Marshmallows (Regular or Peppermint)
Canister or Glass Jar

Thoroughly wash and dry your canister/glass jar

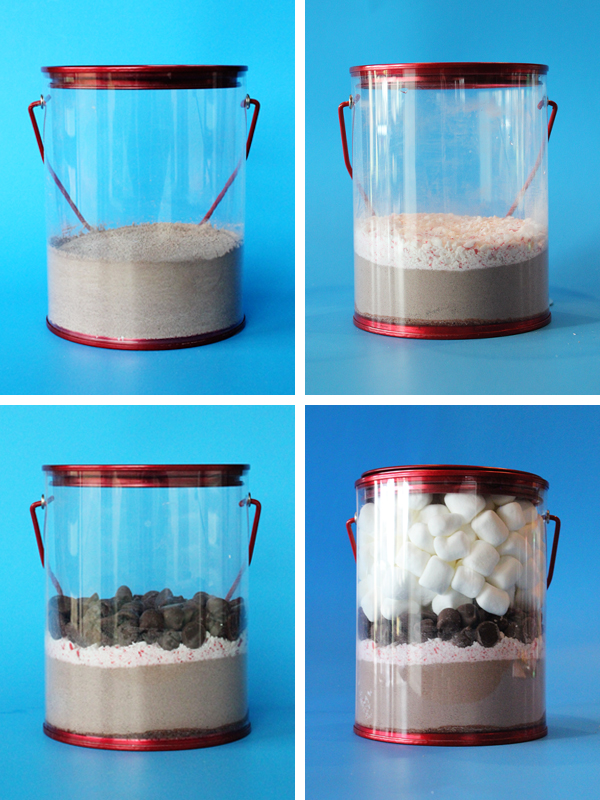
  1. Unwrap 10 peppermint candies and either crush in plastic bag using meat mallet or chop using a food processor. Set aside.
  2. Add 6 Packs of Hot Chocolate Mix then lightly tap canister on the counter to flatten out chocolate mix. Wipe the inside of canister with a dry paper towel to remove any coco dust from the side.
  3. Add crushed peppermint (about 1/4 cup). Same thing tap canister to flatten peppermint layer.
  4. Carefully add 1/3 Cup of Milk Chocolate Chips starting with the outside and filling in the center.
  5. Fill the rest of the container with marshmallows.

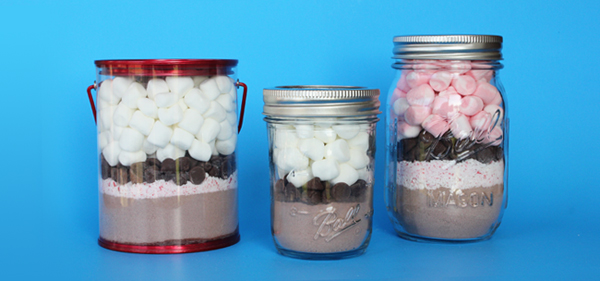
I made a few different version and noted the recipes below.

Hot Chocolate

Target’s Painter Can
Hot Chocolate in a Can

Same Recipe as Above: 6 Packets of Hot Chocolate, 1/4 Cup Crushed Peppermint, 1/3 Cup Milk Chocolate Chips and fill the rest with Marshmallows

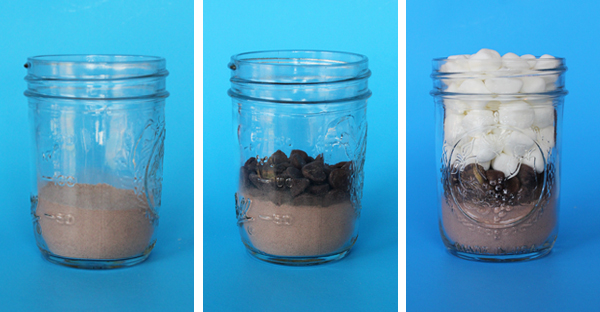
Mini Mason Jar

 Hot Chocolate in a Jar

2 Packets of Hot Chocolate, 1/8 of a Cup of Milk Chocolate Chips and fill the rest with Marshmallows

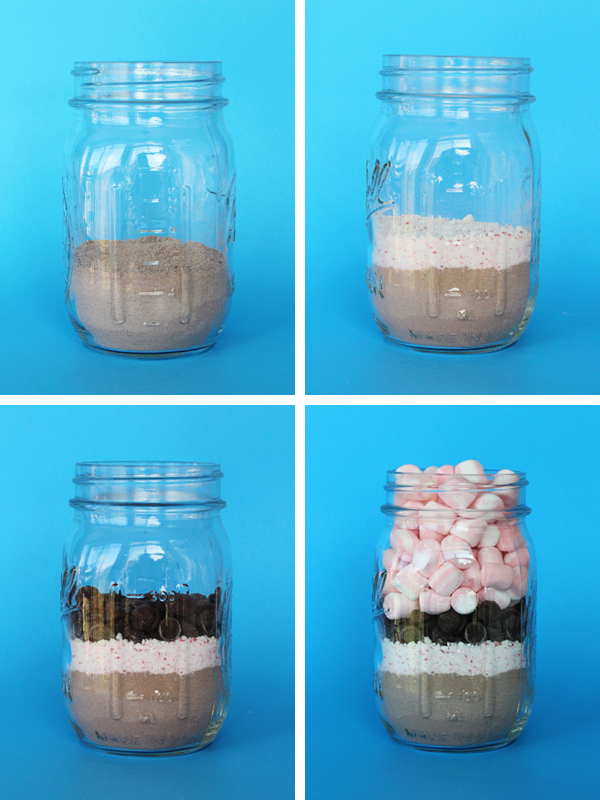
Mason Jars

Peppermint Hot Chocolate in a Jar

 4 Packets of Hot Chocolate, 1/4 Cup Crushed Peppermint, 1/3 Cup Milk Chocolate Chips and fill the rest with Peppermint Marshmallows

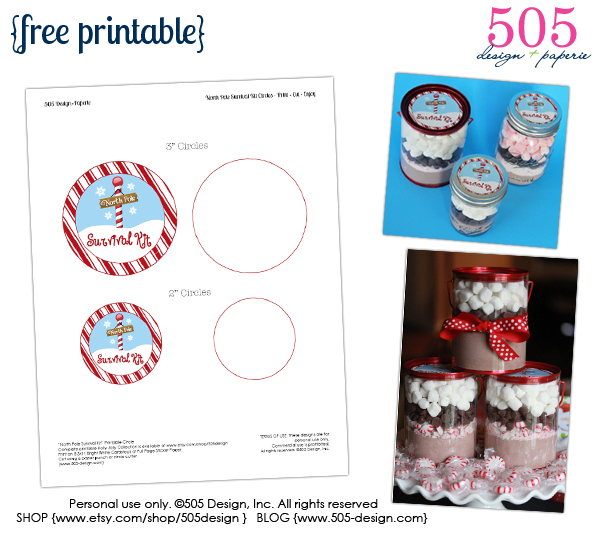
North Pole Survival Kit Download

Click here to download the free North Pole Survival Kit Circles

enjoy! Cathy C.

In The Best Recipe/ Tutorial

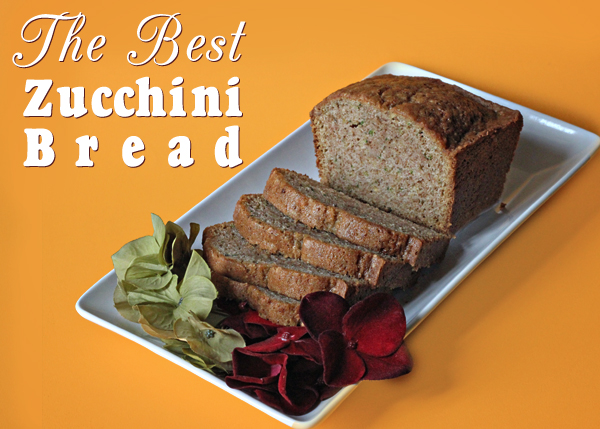
The Best Zucchini Bread Recipe

Fall is here with it’s spectacular color, golden light and rich aroma. For our family, the season is not complete without a trip to the cider mill and as my daughter says “Mom’s Famous Zucchini Bread”.

I was given this recipe by Jen I., and it is the most amazing zucchini bread I have ever tasted. Every time I make it I get nothing but compliments.


The Best Zucchini Bread Recipe

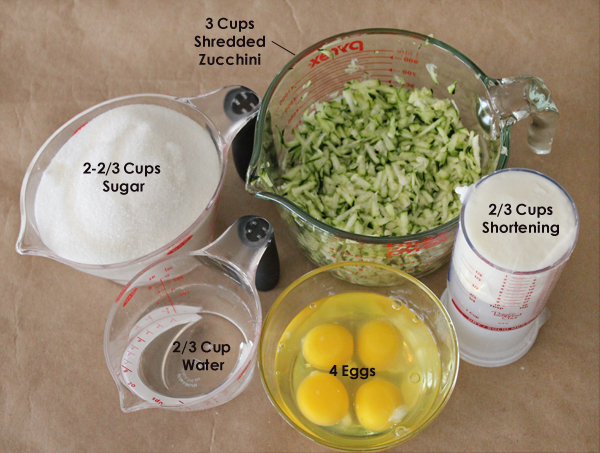
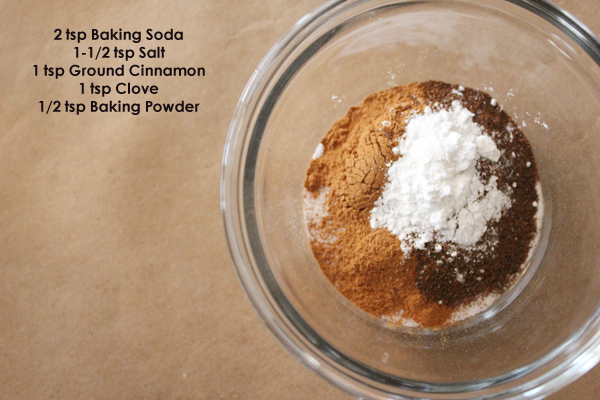
First I separate my wet and dry ingredients as followed (2 tsp Vanilla not pictured)

Zucchini Bread

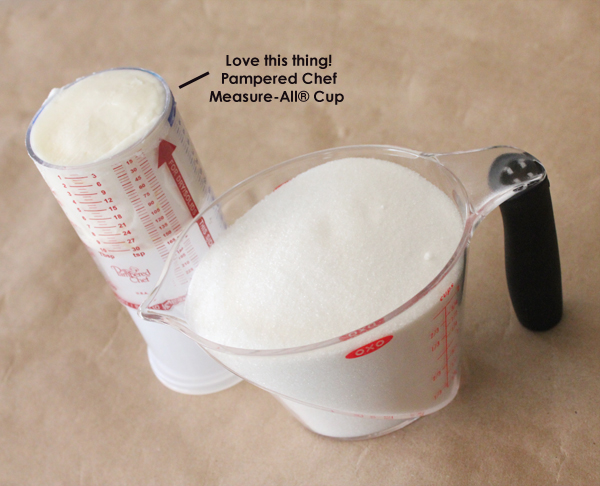
Using my stand mixer I cream together the sugar and shortening

Zucchini Bread Ingredients

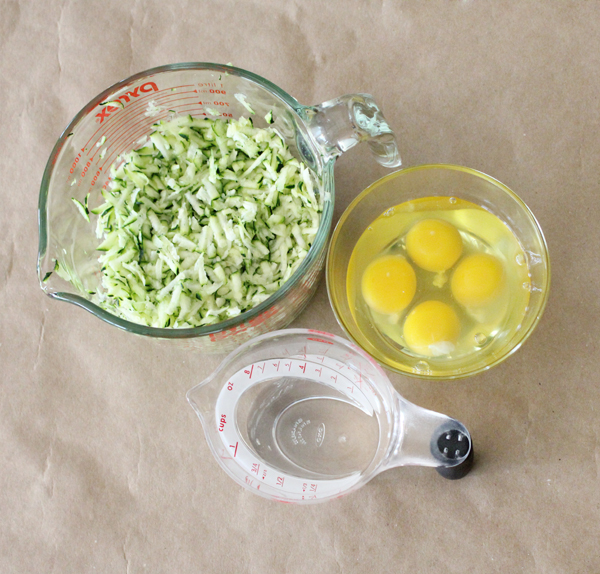
Next add the water, eggs, zucchini and vanilla (not pictured again)

Ingredients

Add the dry spices to the above mixture, then slowly add in 3-1/3 cups of flour.

Ingredients

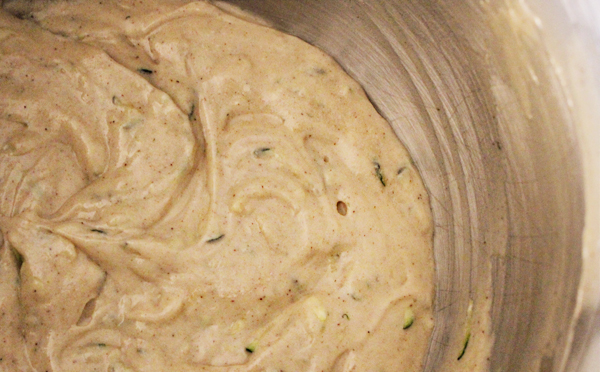
Once everything is mixed up it should look something like this.

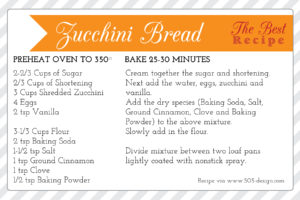
Download the recipe card here!
PDF Version
JPG Version


Enjoy! Cathy C.

1 In Tutorial

Glass Milk Bottle Tutorial

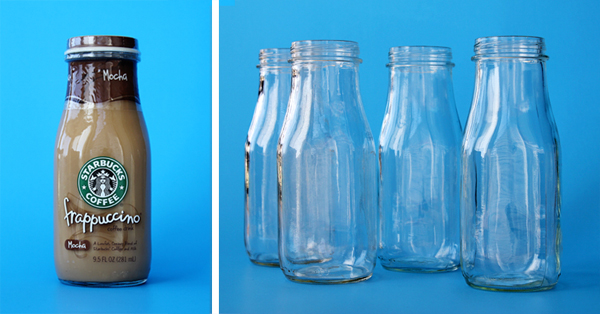
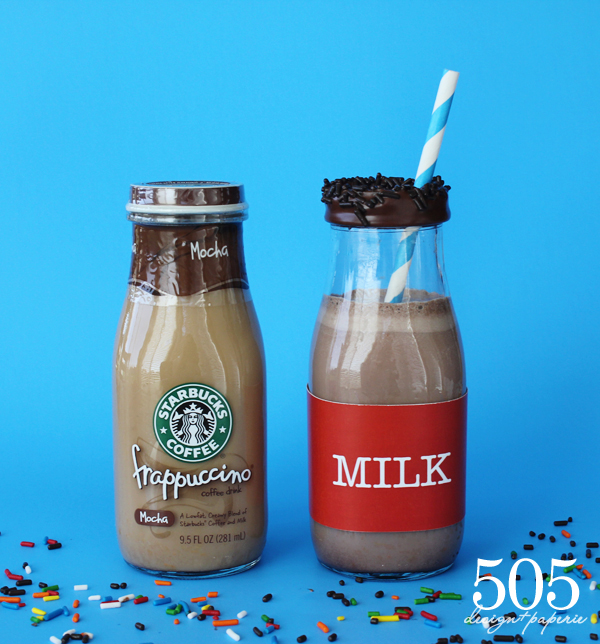
I have received so many questions about the milk bottles I used for my nieces Cookies & Milk party.  I want to share this inexpensive and easy tutorial on how to create your own. I am in love with those vintage glass milk bottles, but at roughly $5 a piece the price is a little too steep for my budget (especially when you consider glass bottles and small children are never a good combination). This tutorial will teach you how to turn a simple Starbucks Frappuccino bottle into an over the top dessert table accent.

Glass Milk Bottle Tutorial

What you’ll need:
4 – Starbucks Frappuccino Bottles
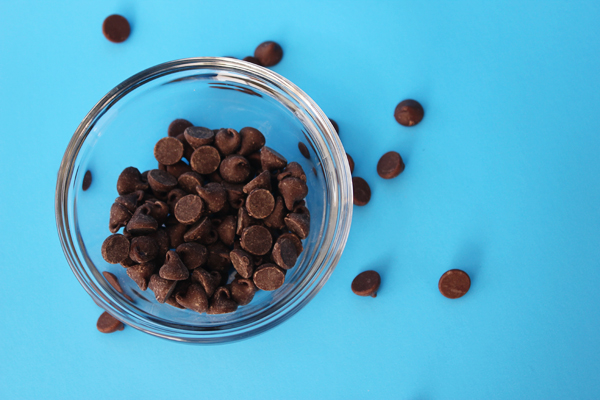
1/4 – 1/2 Cup of Chocolate Chips
Sprinkles of your choice

Optional:
Drink Bottle Wrapper
Striped Paper Straw

Glass Milk Bottle Tutorial

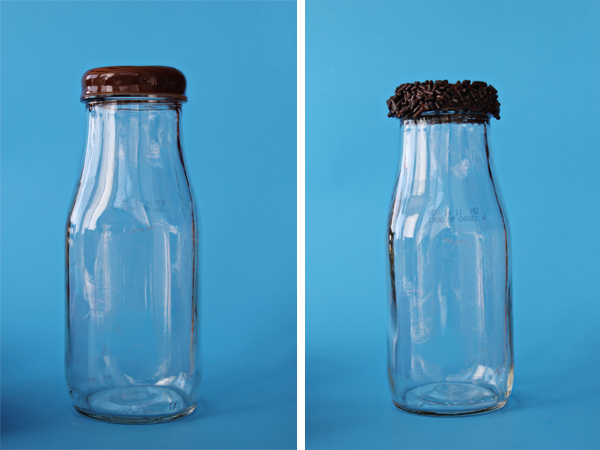
Soak empty Frappuccino bottles in warm soapy water for about 10 minutes to remove wrapper.  Clean and dry thoroughly, set a side.

Melted Chocolate

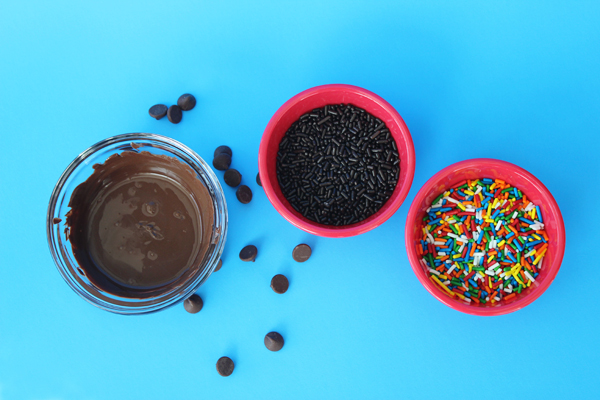
In a small glass dish melt chocolate chips in the microwave, one minute at a time at 50% power, stirring in between. *Helpful hint – Add 1/2 teaspoon of Crisco Shortening to make chocolate shiny and smooth.

Glass Milk Bottle

Place sprinkles in a small dish or plate

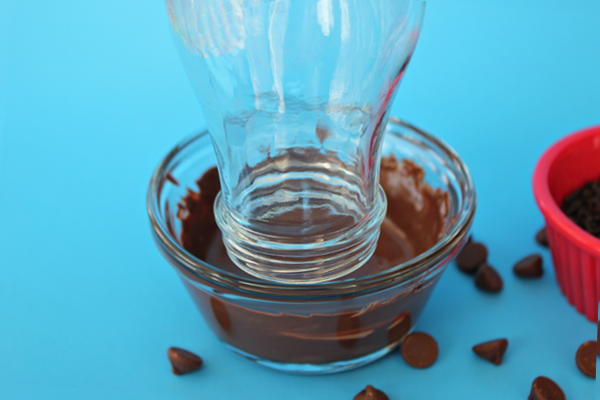
Dip the rim of the Frappuccino bottle in melted chocolate, making sure to cover the entire twist off area.

Let the chocolate stand for about a minute then dip the chocolate covered rim in the sprinkles of your choice. (If the chocolate is too hot the sprinkles will just run down the side of the bottle)

Glass Milk Bottle Tutorial

The above steps can be done a couple days in advanced, just make sure you store the bottles in a cool and dry place.

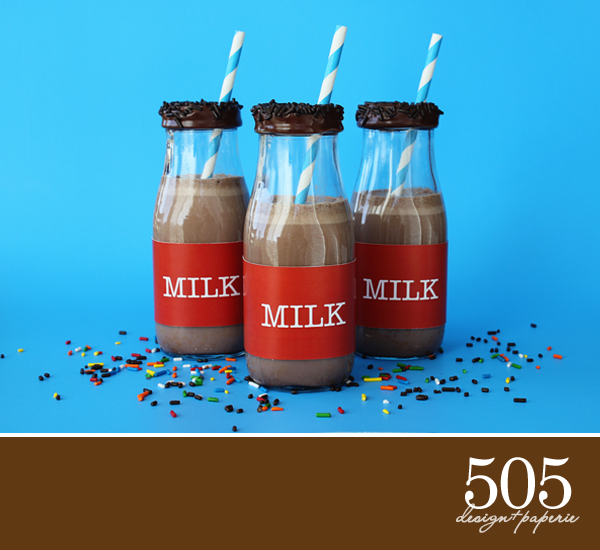
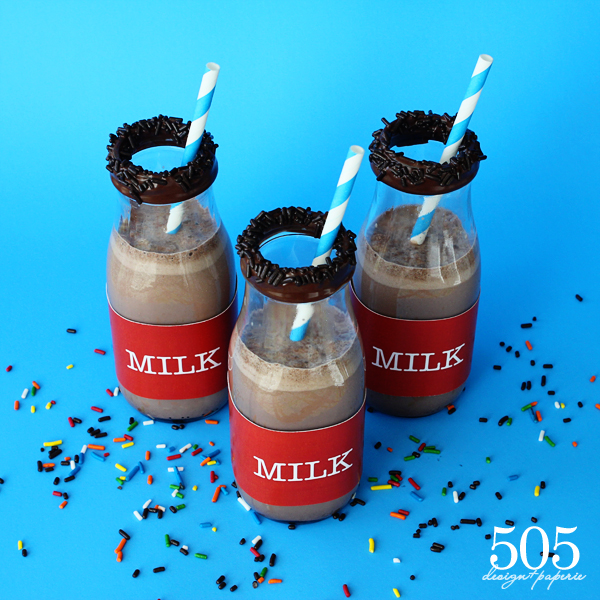
The day of your party add the milk and drink wrapper then top off the bottle with an adorable striped straw.

Frappuccino Milk Bottle

(The milk bottle wrappers are from our boys Cookie & Milk Party Set)

Thanks for stopping by! Cathy C.

3 In Halloween/ Tutorial

Gourmet Candy Covered Caramel Apples

Last week I worked on a photo shoot with the wonderful Monica from Andary Studio’s to show off the brand new Halloween Collection.  I made these delicious Gourmet Candy Apples for the shoot which turned out adorable.  Here is the tutorial on how to make your own.
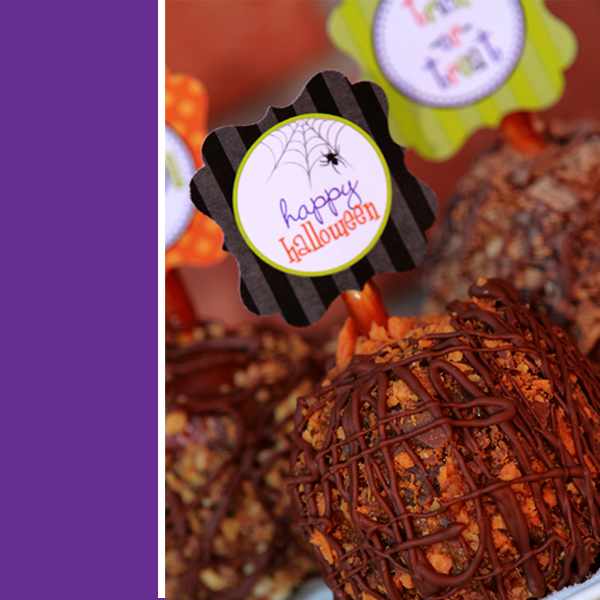
Halloween Candy Apples

Supplies:
Store bought Candy Apples (or you can make your own, I was lazy this day)
Caramel Dipping Sauce
Candy Bars {your choice you need about 1 large or 3 fun size bars per apple}
Small bowl of sugar
Wax Paper
Chocolate chips or Melting chocolate
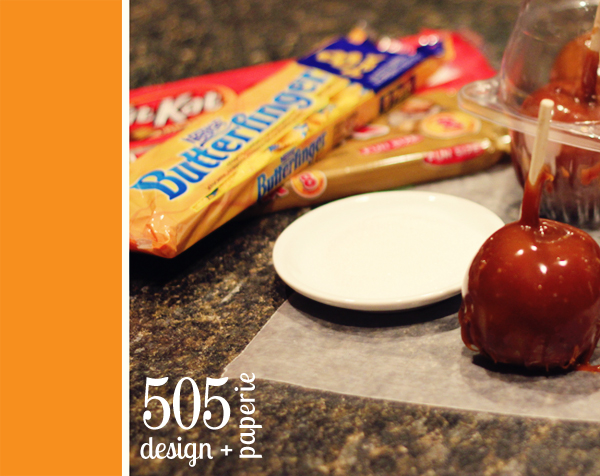
How to make Gourmet candy Apple

1. Place a large piece of wax paper over cookie sheet and set aside.

2. Crunch up candy bars in food processor or crush them in a plastic bag with a rolling pin. Place in bowl and set aside.
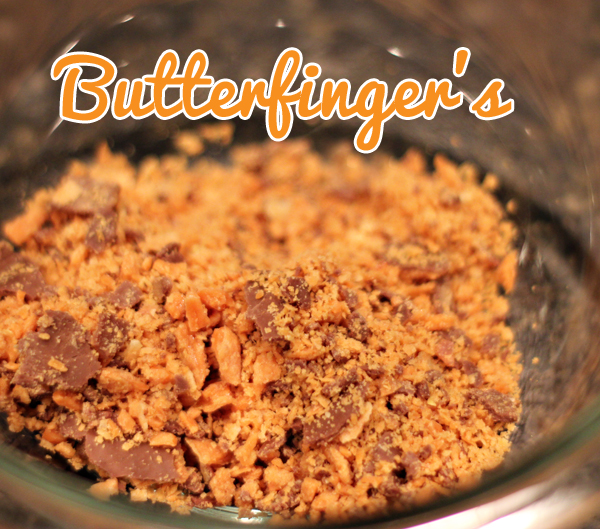
Crunch Candy Bar

3. Dip store bought candy apple into caramel dipping sauce {you can skip this step if you are dipping your own apples}
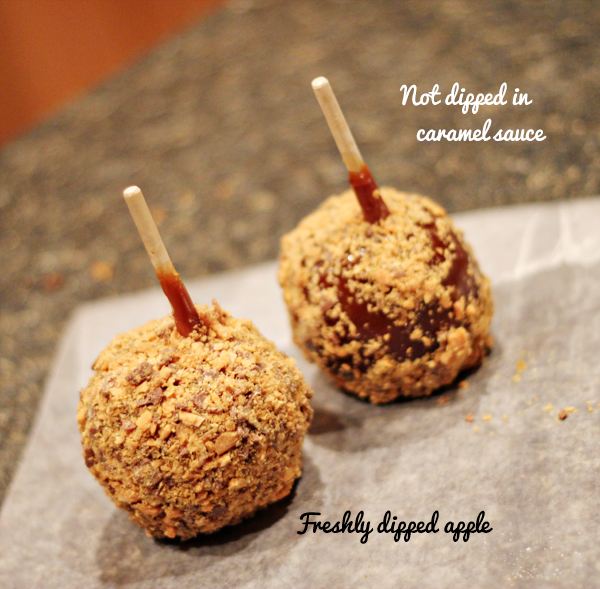
{The back one is how it looks when you don’t use freshly dipped apples, everything kind of falls off}

4.  Roll freshly dipped apples in the bowl of crushed candy, making sure you cover it entirely.

5.  Once you have completely covered the caramel apple with crushed candy place the bottom of the apple in small dish with sugar {this will keep it from sticking to the sheet} and place on wax paper.
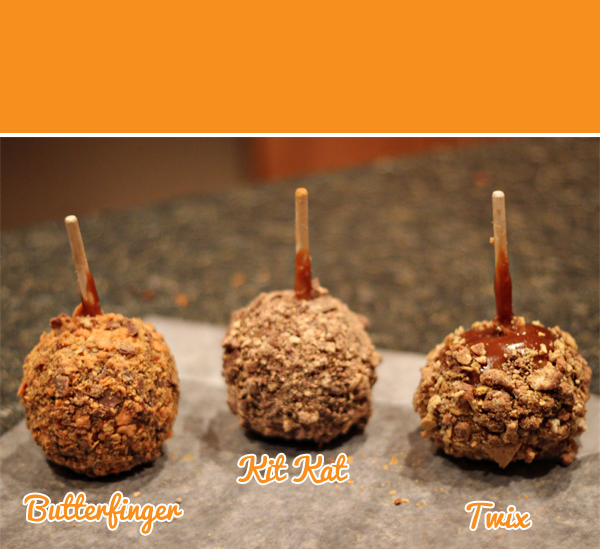
 

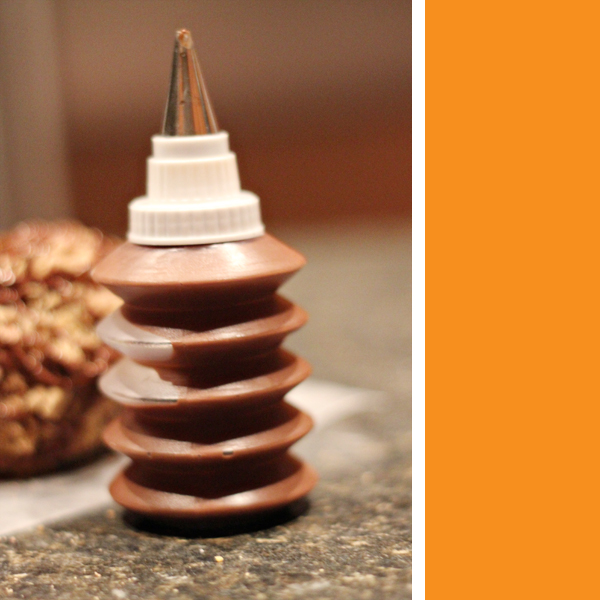
 6. Melt chocolate chips in a small glass dish.  I use the microwave at 50% power stirring every minute. Once chocolate is completed melted use a spoon to drizzle melted chocolate over candy covered apple.  You can also use a squeeze bottle like this, or a sandwich bag with a small hole cut in the corner.
 The final product should look something like this….
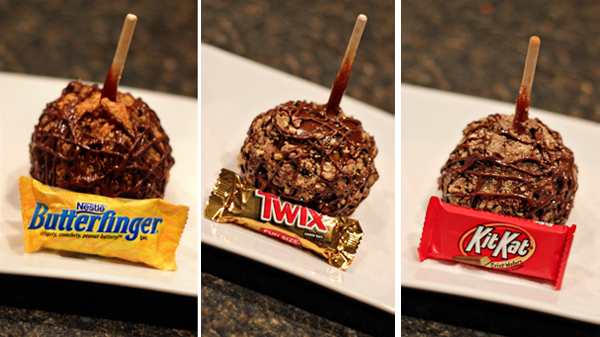
Gourmet Candy Apples

I hope you enjoy the tutorial, don’t forget to check out the new Halloween Collection, on sale in the shop until October 1st.

thanks! cathy c.

6 In Free Printables/ Pirate Party/ Tutorial

Free Pirate Printable + Layered Cupcake Tutorial

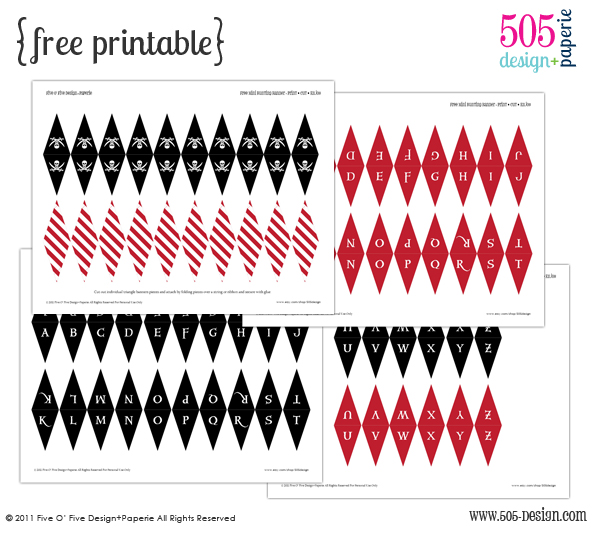
I am so thankful to have been asked to participate in the give away from A to Zebra Celebrations.  I wanted to give a “little” back to all of our new facebook fan so I created these miniature triangle bunting banner.
Layered Cupcake + Free Pirate Printable

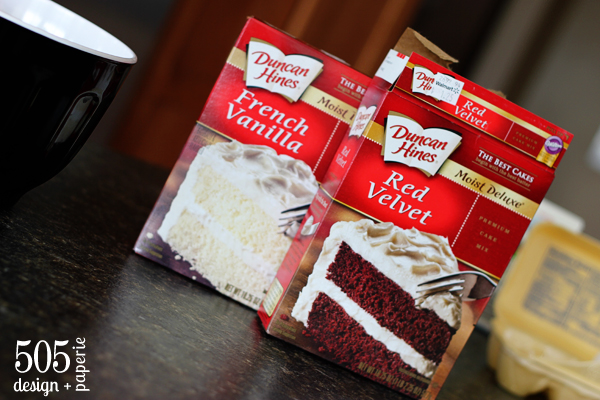
Yesterday while my little ones were napping, I made adorable red and white layered cupcakes using red velvet & french vanilla cake mix.

Red Velvet Cake Mix
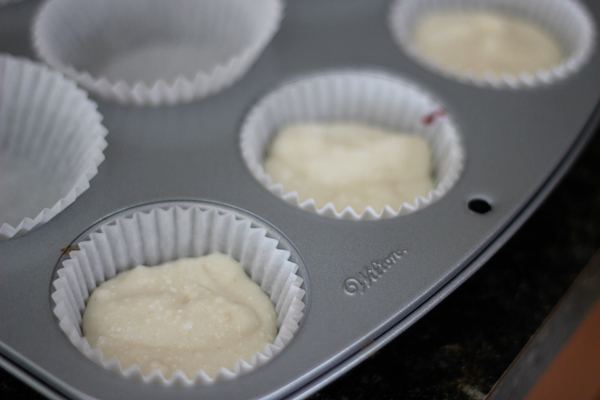
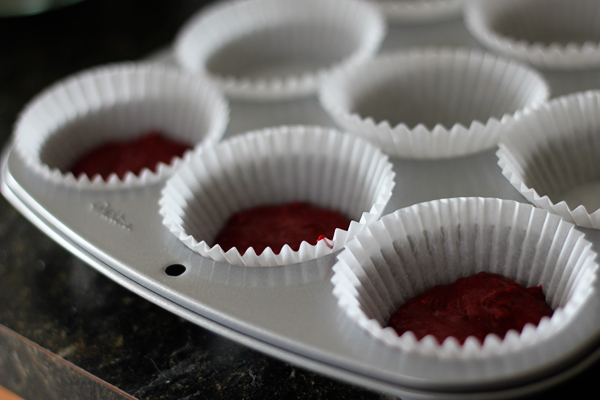
After mixing up both batters, I spooned about 1 tablespoons of red velvet mix in to the bottom of cupcake baking cup.

Layered Cupcakes

Next, do the same using the French Vanilla batter making sure the mix reaches the sides and completely covers the bottom layer.

Layered Cupcakes

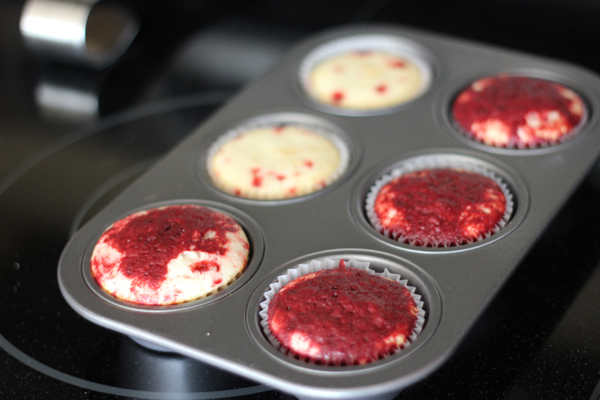
Repeat the previous step using the Red Velvet mix and place cupcakes in the oven.

Layered Cupcakes

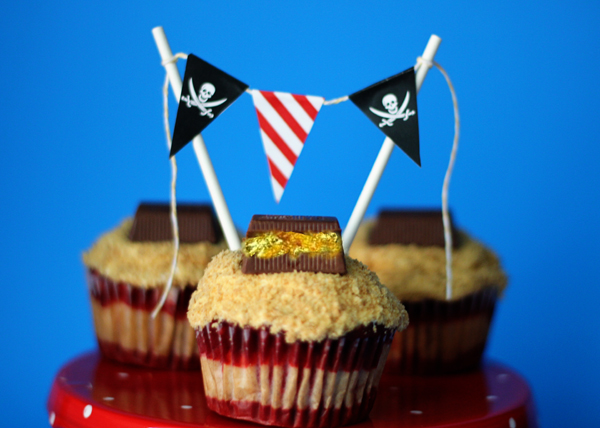
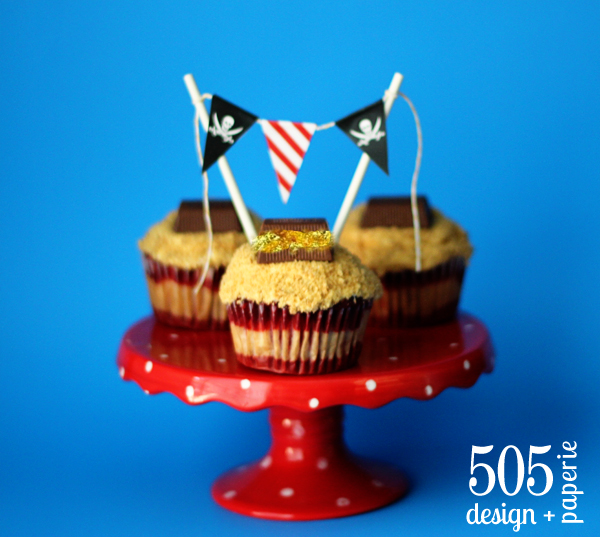
Once the cupcakes cool a little frosting and a quick dip in some sand {crunched up graham crackers}.

then add the chocolate treasure chest {Hershey Nugget} and our free mini Pirate Banner.

Pirate Cupcakes + Free Printables

Ta-dah, super cute Pirate Cupcakes that your little Matey will love! {I used bakers twine and two lollipop sticks to attach the mini-bunting banner}

Download your free mini pirate bunting banner here.

Free Printable Mini Pirate Bunting Banner


Enjoy! Cathy C.